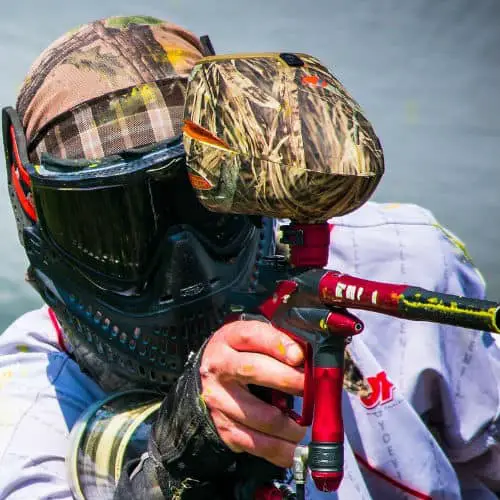
A regular paintball mask gets the job done. It protects your face and eyes from incoming paintball pellets and, more importantly, helps you look the part. But if you like to get creative, then this detailed guide on how to paint a paintball mask is designed for you.
The first step is to take apart your mask and leave the lens aside in a safe area. For obvious reasons, you do not want the paint getting smeared on the lens and obscuring your vision on the field. Use green PET tape to cover regions of the paintball mask that you do not want to paint.
Caution 4: Many paints contain dangerous chemicals that could damage the base material of your paintball mask. It is recommended to buy Krylon fusion paint, which is designed for plastic. You can purchase this paint through Amazon, click here for current pricing.
Caution 2: Make sure to paint in a large area free of any clutter or other household items. Spray paint will get on other items that are close by. Don't paint in your home. Go outside (where there is no wind), into a garage or workshop. Avoid dusty environments because the dust will stick on the paint and result in a low-quality paint job.
Start to dismantle the parts of the paintball mask that are removable, in particularly the lens, the strap that goes under your chin, and any screws that could be keeping the pieces together.
Keep these areas far away from the environment where you will be painting. You do not want these parts to get contaminated.
If you are unable to completely remove the strap or other areas from the paintball mask, you will need to mask them before applying a fresh coat of paint. Use making tape to cover areas that you do not want to paint.
Also, take pictures or a video as you are taking your mask apart so that you will see how things go back together when you have finished your paint job.
Clean the surface of the paintball mask with the help of a basic household cleaning detergent to remove grease. Your hands can also leave traces of grease on the paintball mask, which is why you should wear latex gloves.
If there are any stickers on the paintball mask, start to peel them off one by one. If the stickers are bolted onto the mask, you can pry them loose using heat from a normal hairdryer. If you want to control the temperature of the heat applied to the sticker (to prevent harming the paintball mask), use a professional heat gun.
It is always a good idea to remove the old paint from the paintball mask with the help of grit sandpaper. Painting on a mask that already has old paint applied to it may result in a bad paint job, or worse, the new paint just won’t stick!
Once you’re done with the grit sandpaper, add some grease remove on a microfiber cloth and use it to clean any dust and grease that may have accumulated on the paintball mask. You can purchase a silicon, wax, dirt remover through amazon, check out the options and pricing here.
You can paint your paintball mask an unlimited number of times so long as the base of the mask isn't cracked or broken. You will want to sand off any loose paint from previous paint jobs so that the new paint will adhere properly.
Covering certain areas of the paintball mask only becomes necessary if you are not able to remove them. Covering also comes in handy if you want to cover areas of the mask that you don’t want to be stained by the paint.
Trust us when we say this, it’s not at all fun removing paint from the paintball mask.
To protect the interior of the paintball mask, simply get some old newspapers, round them up into a ball and stuff them inside the mask. Fasten the newspaper to the bask using masking tape.
Start by adding paint to the surface with the primer undercoat. Once the surface has been covered, leave the mask to dry. Applying paint while the undercoat is still wet is not a good idea right now. If you stuffed a lot of newspaper inside the paintball mask, you will want to avoid spraying beyond the exterior because the paint absorbed by the newspaper will leak the paint.
It is recommended to apply the primer at least 2 times. Give it at least a day to properly dry.
A guide coat will help you achieve a quality finish on your paintball mask. It is a thin layer of paint that allows us to see any imperfections on the helmet to decide the best course of action. Once the guide coat has been applied to the surface, take a block and some grit sandpaper to carefully sand the mask. Continue to sand until the guide coat completely disappears, but be careful not to remove the primer.
Caution: Be gentle when it comes to the corners since it is easy to sand through to the primer down to the original color of the paintball mask. The corners are where the paint is at its thinnest.
Once you are done with the sanding, wash the paintball mask clean. Use a grease and wax remover along with a piece of microfiber cloth to wipe out any dust that may have settled on the mask. The same cleaner can be used that you had used in preparing your mask step.
You have finally prepared your paintball mask for the actual painting. Make sure to remove any debris or dust from the helmet. If you are using an aerosol spray can, make sure to shake it before use. In the case of a professional spray gun, mix your paints.
Try to get the paint onto the surface as evenly as you can. Repeat the motion right to left, left to right until you have an even coat of fresh paint across the entire paintball mask.
Hint: You will need enough paint to cover the mask at least 2 to 3 times. More list coats are better then thick heavy coats. The more coats you paint, the heavier your mask will become.
Once you have applied the first coat of paint, leave the mask to dry in the air before applying a fresh coat of paint. Keep repeating this until you get the desired results.
To add specific patterns to your paintball mask, you will need acrylic paint (or any oil-based paints) and stencil. The key is to avoid water-based paints since they will wash off after coming in contact with moisture.
Find a pattern that you want to use for your paintball mask. Use a knife to cut out the patterns you want to use. Make sure to not cut too far off from the pattern or your desired pattern will not look accurate enough.
Now start to position the stencil on the mask and press it firmly around the perimeter with your finger to ensure the pattern (where the paint will go), properly adheres to the surface of the paintball mask.
If you don’t want the paint to reach other areas of the mask, cover them with the masking tape. If you are painting with your hands, then make sure to apply the paint in a stabbing motion to prevent smearing the edges. If the stencil paper starts to lift off, hold it down back in place with your finger.
Now you have to leave the paintball mask to dry overnight. Once the paint has dried, gently lift the decal and you should have the perfect looking decals. If the result is not according to your expectations, you will need to reapply the paint over the mask to create a second color.
The good news is that you can repeat this several times without worrying about damaging the paintball mask; the bad news is that each bad paint job will result in you spending lots of hours doing corrective work.
Your first time will not be pretty, but with practice, you will get better. Don't expect to have the perfect paint job for your first attempt!
If you want to apply multiple colors to the same mask, the procedure outlined above will get slightly more complicated, especially if this is your first rodeo.
Here’s how you can apply multiple colors to the paintball mask.
The technique shown above should be repeated until you have painted the entire mask to your desired colors.
When the final coat of paint has dried for the final time, it is time to put the helmet together again. If you don’t know which part goes where, you need to go over the instruction manual.
We recommended pictures or a video when you were preparing your mask for painting. This is where you can refer to your video or the pictures to see how everything fits together.
To properly paint the vents in your paintball mask, apply the paint from several angles as your pass over the vents. You don't want to focus too much time and attention on any area as you spray. Make several quick passes from different angles to ensure adequate vent hole coverage.
Sanding and painting make you vulnerable to dangerous chemicals that could get into your respiratory system and cause problems. Whether you are a professional or a hobbyist, you should never expose your health to harmful fumes. Follow the steps below to stay protected at all times.
Most paints are composed of dangerous chemicals called volatile organic compounds. These are released into the surrounding air just as soon as you open a can of paint. Depending on which type of paint you used, these vapors can linger around for up to 3 days. You should never paint your paintball mask in a closed environment. Paint the mask on a less humid day, keep your room well ventilated and keep a few fans close by to help in the removal of dangerous fumes.
Using a respirator to protect your respiratory system while you paint what looks like another respirator sounds like an irony, but it is your best way to protect against harmful chemicals. You should try to buy air supplied respirators from most online retailers.
If you don’t have access to air-supplied respirators, you can always buy cartridge-based respirators that filter out fumes before they enter your bloodstream. Just make sure to replace the filters regularly, especially if you’re in the business of painting paintball masks.
Not only can the fumes leech out from the paint and enter your respiratory systems where they can harm your lungs, but they can be very harmful to the skin as well. This is especially true for paints that contain isocyanates, which are notorious for being toxic to both the lungs and the skin.
This is why you should always wear a full-body paint suit, complete with latex gloves, a hood, and safety glasses, to protect your skin and lungs from harmful fumes.
If you spill the paint, stop the painting process and clean up the mess. This is because you or someone else can step onto the spill and carry these chemicals to other areas of your house.
Read your paint’s MSDS sheet that lists the most harmful toxins in the spray can you plan to use. Manufacturers make this information easy to access for their customers to see.
If you work in a clean ventilated area and use a safety mask, you should be able to avoid inhaling any fumes.
Now that you have successfully painted your mask to your desired pattern, it is finally time to take it on the field and show it off to your friends. The only thing you have to keep in mind is that it will attract dirt, dust, and even paintball splatter from exploding paintballs. It is important to quickly clean your mask as and when it gets smeared with paint, especially if it’s covering a good portion of your lens.
It is advisable to keep a clean microfiber cloth on your person at all times when playing on the field. This will help you remove as much of the paint from your mask as possible. Our advice is to first remove the paint using your palm (much like a squeegee on your gar’s windshield), before applying the microfiber clothe to remove residual paint.
It is very important to not use rough materials such as a gym towel, paper towel, or even your shirt’s sleeve. The reason you should avoid these products is that they act as an abrasive, chipping off bits of the surface from your paintball mask, and leaving scratchy marks on your lens. Remember, it is better to have paint on your lens than to have scratches on your lens, at least the paintball splatter can be removed later on.
You can’t clean the paintball mask on the field because you just don’t have the time. This is why it's best to wait until you’re in a safe zone away from flying paintball pellets to get some cleaning done.
You will need a lens cleaner and a microfiber cloth to clean what remains of the paint. Apply the lens cleaner as needed and wipe it with a clean microfiber cloth. It is helpful to have multiple microfiber clothes on you because using one repeatedly will cause previously cleaned paint to smudge all over your paintball mask lens.
If you plan on using the same microfiber cloth, make sure to use a large enough microfiber towel.
Caution: Only use lens cleaners that are specifically designed for use on the paintball mask lens. General all-purpose chemicals can be easily bought from most retailers (and are cheap for the most part), but they often have abrasive chemicals that could do more damage to your lens than any good that they do.
Once the paintball mask is clean, make sure to inspect the lens to see if it is safe to use. If you use any cracks in the lens because you applied excessive force during step 1 and step 2, it’s time to discard and replace the lens.
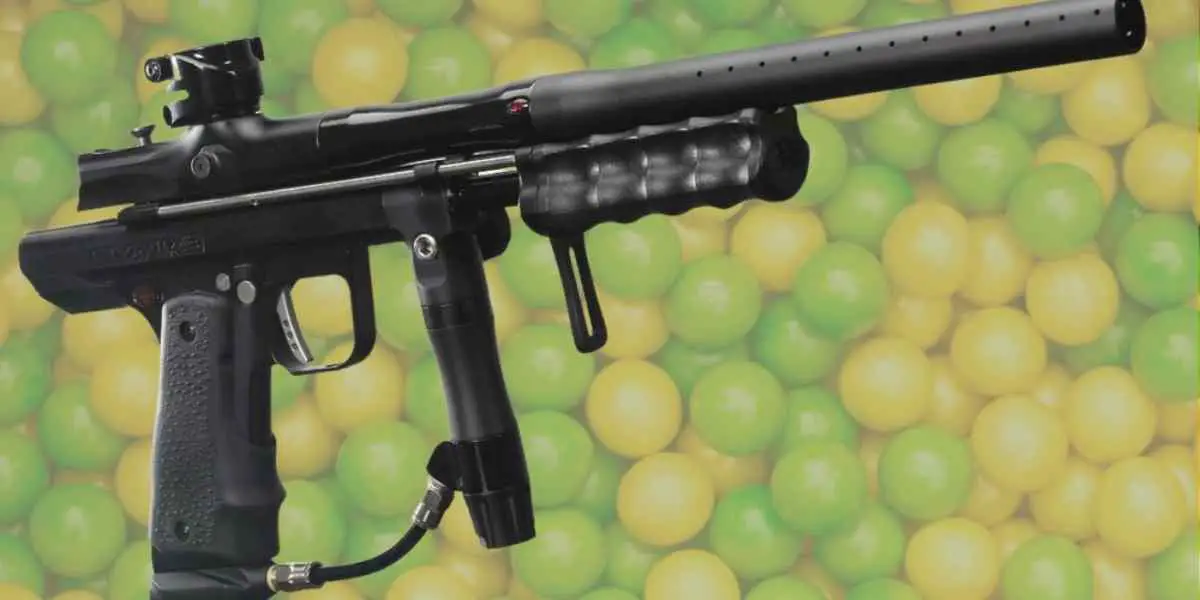 Empire Paintball Sniper Pump Marker Review
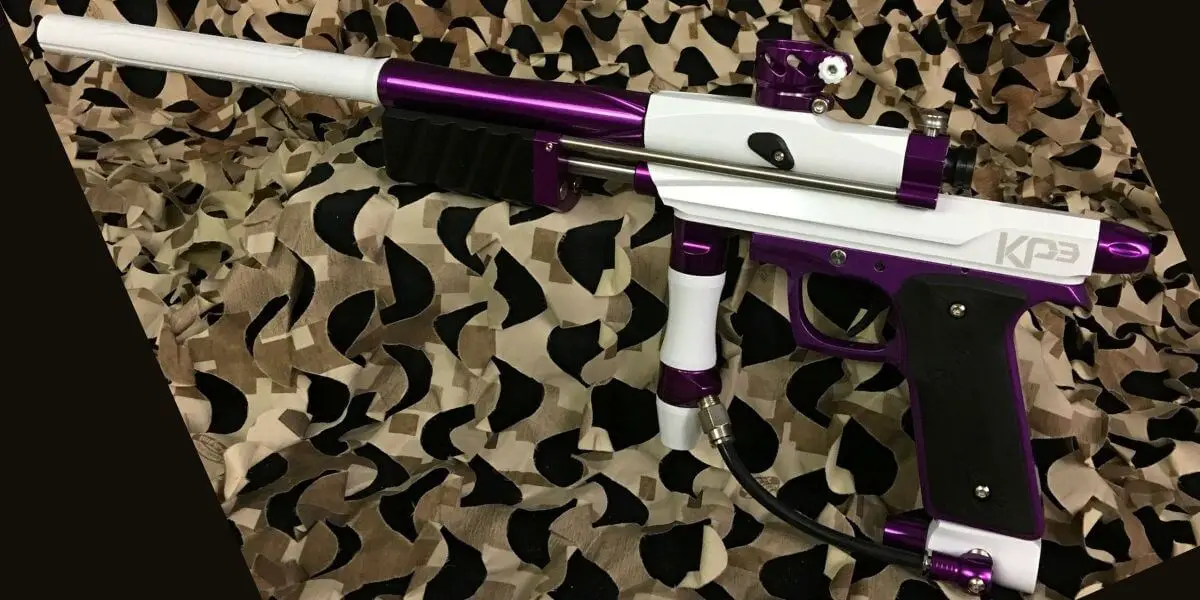 Azodin KP3.5 KAOS Review
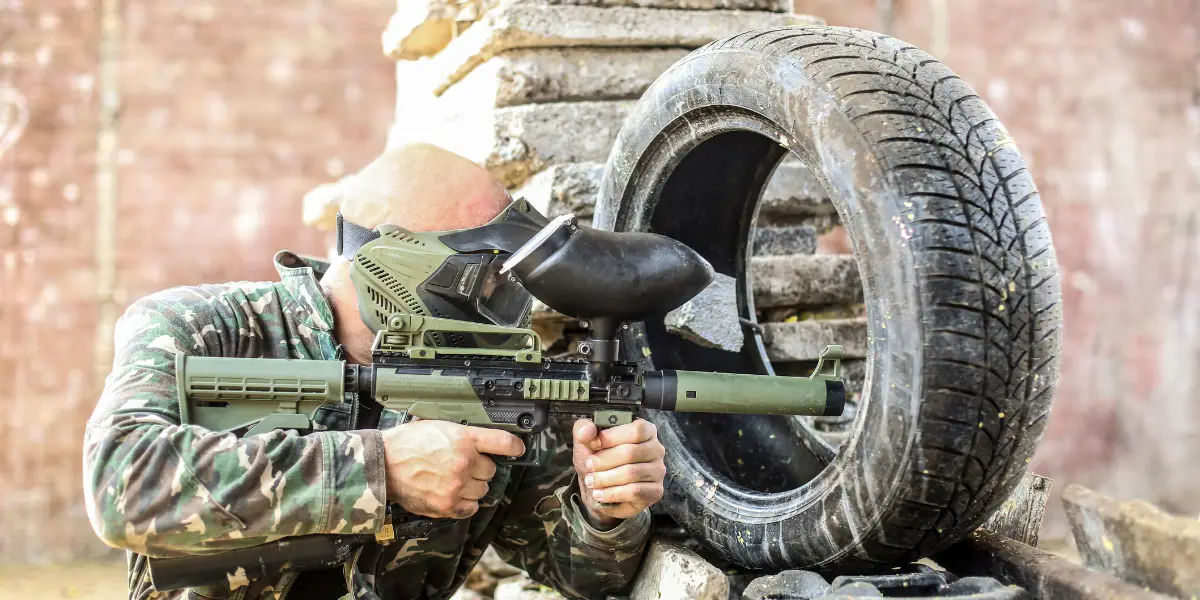 Tippmann Cronus Review
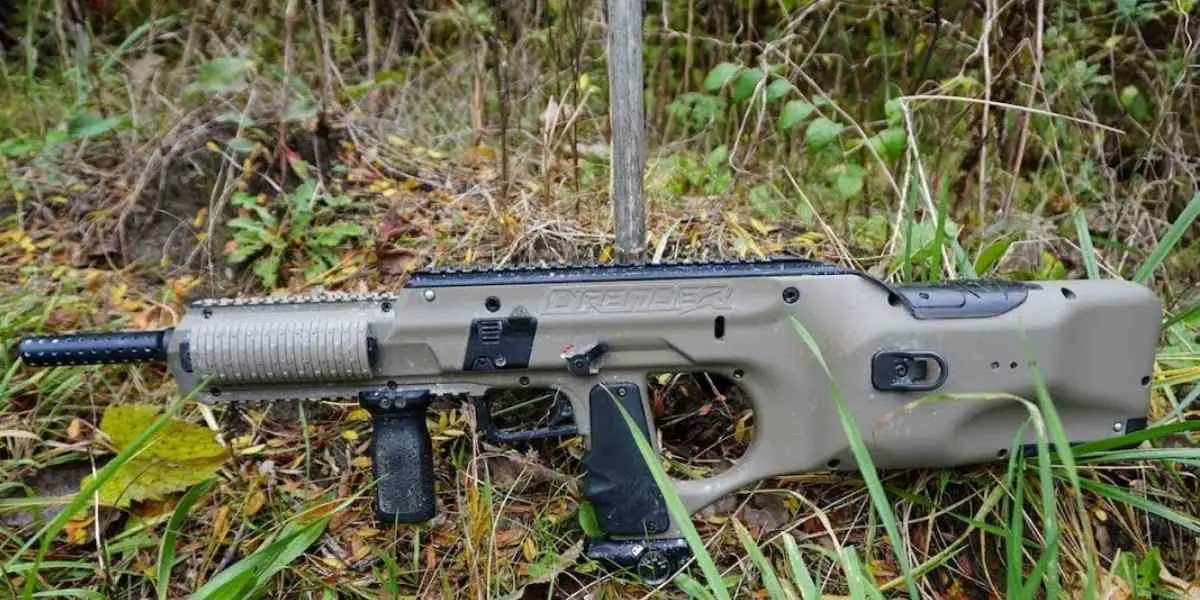 Empire BT DFender Review